12 Weeks of Halloween 2016 Week 7
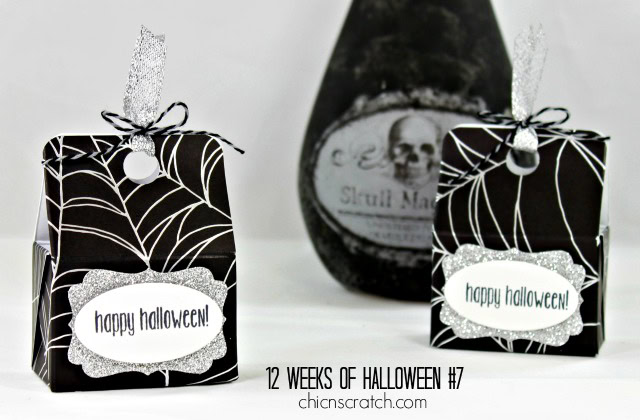
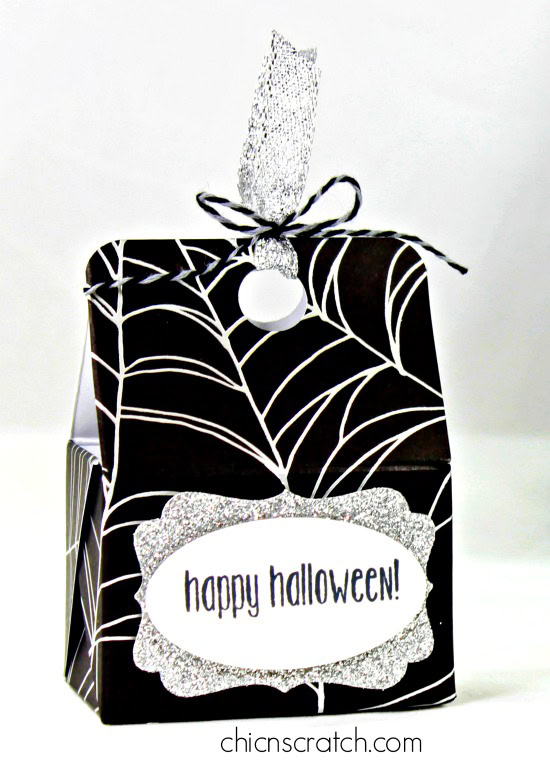
This Halloween Box is the 7th project for the 12 Weeks of Halloween.
I made the Halloween box using an 5-1/2 x 8-1/2 piece of Halloween Night Designer Series Paper.
Place the DSP on the Simply Scored Scoring Tool and score it @ 1-1/2 & 4 on the portrait side (5-1/2 side). Place it on the landscape side and score @ 1-3/4, 3-1/2, 5, 6-3/4. See video or instruction sheet for cutting and assembling the box.
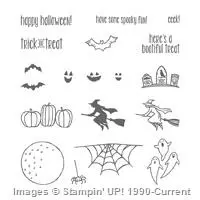
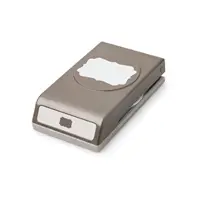
To decorate the box I used the Spooky Fun Stamp Set with the Layering Circle Framelits and the Decorative Label Punch. If you have the Retired Oval Punch … that works too!
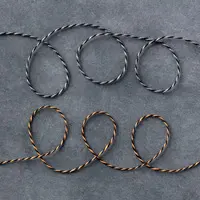
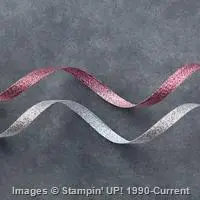
To hold the box closed I used the 3/8 Glitter Ribbon with the Halloween Night Bakers Twine.
If you’re not a fan of Halloween I have a Christmas version of this box to share with you next week. (I’m a few projects behind on the Christmas versions and I will do my best to get caught up next week.)
- Click here to watch the You Tube Video on how to make the Week 7 of the 12 Weeks of Halloween 2016 with Stampin’ Up! Product on Chic n Scratch.
- Click here to download the Instructions.
Stampin’ Up! Supplies

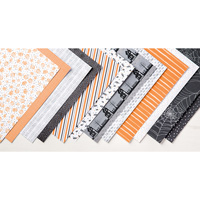


- Halloween Night DSP: 5-1/2 x 8-1/2
- Silver Glimmer: Decorative Label
- Whisper White: Oval

Thanks for sharing! Love your 12 weeks of Halloween series!!!
Love the DSP cute Treat Box
What a cute box – love the criss cross detail that ends up on the sides. That foiled DSP is perfect for this project! Have a great weekend 🙂
Love this cute box!!! I am so making these for the work peeps! Thanks Angie, you always help me get my craft on.
Cute box!
So cute! How do you come up with all these great projects!
As always super cute idea! Love your stuff!
You always amaze me with your different creations! Love this lil box. I will for sure be making some of these for my girls! Super cute!!
Love this box!! It’s so cute!! Thank you Angie for everything you do!!
Great size box for giving treats to co-workers. Thank you.
I really love this box. I think I will go and try it right now even if I don’t have the paper. I will use what I have.
I will be making this box as soon as I hit submit now. This is such a cute box. Love it.
Love the cute box. Your tutorials are so easy to follow. Will try to recreate it using stamps and silver embossing powder. Thanks for sharing.
Great box I love the designer series paper especially the spider web print.
Oh my goodness… I absolutely adore this box and I am in love with this DSP!!!!
Cute treat box.
This is a really cute project. Can’t wait to make a few of these!!
This is going to be such a cool project to make. Thanks for the instructional video.
Great treat box! I love how web coordinates with the label and the ribbon! Looking forward to making some of these cuties!
OMG this is my favorite box. So cute. Love the way it comes together. Thanks for sharing. Now I have to go make one or ten.
Another cute box! Love them and keep them coming.
This paper is gorgeous in person! Darling little box, Angie! Thanks for sharing as always!
Love this project! Always fun and creative!
A treat any trick or treater would love! So cute….
I am officially in love! Cutest Halloween box *ever*! Love the shape and the papers you used… so fun! Pretty sparkle with the silver paper and ribbon!
Hi Angie,
This box is a keeper. Very easy and quick to make.
Have a great weekend.
Love all the halloweeen goodies you make!!
As always you made the most amazing projects. Love watching your boxes tutorials thank you for sharing them with us Angie!
Another fantastic box/bag with the spider web paper. Love it!
I like the box but especially like the papers you used on this one, sooo cute! Ty for sharing =)
Great box and paper choices! Love your videos!
The paper is perfect for this cool box!
What a super cool box and you make it look so easy to make. Can’t wait to make these for my grandchildren!!
While watching the video, I was wondering what would fit in this cute box. Thanks for sharing that information. I’m thinking some Hershey Nuggets for a Christmas box. I love the way the box folds.
What a darling box, love the sides. I don’t know how you come up with all these cute boxes but I am so glad you do 🙂 I love that we can make them for any holiday.
Like this box..looks a bit harder than it is!! You could add a bling beside the Happy and it will not look like it is off centered, just sayin…..thanks for sharing!
Makes a great treat box for Halloween!!!
This box is so cute.
Love this cute little box. I will have to make some of these for my 10 grandkids.
Thank you for sharing and giving such cute projects to make. It sure makes my live alot easier.
Love the box. Hope I’m not to late for the drawing.
Love it! I bought two packs of Halloween paper for treats for school and will use the spider web paper and make these boxes for the office staff! The kiddos are getting Reese’s pumpkins inside one of your older projects–just a fold over and tied with ribbon, but still fun and glorious! Keep these creative ideas coming, Angie! I love to watch and learn! Thank you!
I like this box! the criss cross effect is terrific. thanks for sharing
stamping sue
love this Angie- can’t get enough of your great ideas, this would make a fun table favor !
thank you for sharing
alyse d
Angie– You make your instructions so easy to follow! Love this box!
Thanks for taking the time and sharing
Thinking ‘cool’ from sunny and hot southwest Florida
Angie you rock! Love every project you make! Super darling! Thx!
Really cut box to give ot small treats.t…thanks for sharing it on your video and the printed instructions. I appreciate all the things you share on your blog!
Awesome craft idea – love halloween! The SU DSP is SO cute! Thanks for sharing!
LOVE Halloween and LOVE all of your great Halloween projects ~ this treat box is super easy for such a huge cuteness factor!?
Love the Halloween box. You are so creative!
Thanks so much for sharing. Love love love your 12 weeks of Halloween series! These are awesome boxes!! Would love to win your kit…love the spider paper… My grandkids would love these!! Thanks again! Jo?
While I’m not a Halloween person, I love all these to apply to my other holiday projects. Such cute stuff!
LOVE THE TREAT BOX..LOVE THE DSP..LOVE ALL YOUR IDEAS!! THANKS AGAIN ANGIE! PEGGY
This box is so cute, and the paper is fab!!!
So cute and easy to make!
Thanks for sharing! Love everything you make