Halloween Box

Halloween Box

Good afternoon!!

My project today is the Halloween Gable Box.  It's also one of the projects for my Halloween Class.   I will also offer the kit for my long distance ladies. (I need to create a few more projects before I finalize it.)

I used the Cast a Spell Designer Paperto cover the front of the box.  This year I left the back side blank….but here's what I'm thinking…you could personalize it with a name…maybe using the Simple Letters die with the Big Shot.  Or you could spell out "boo".

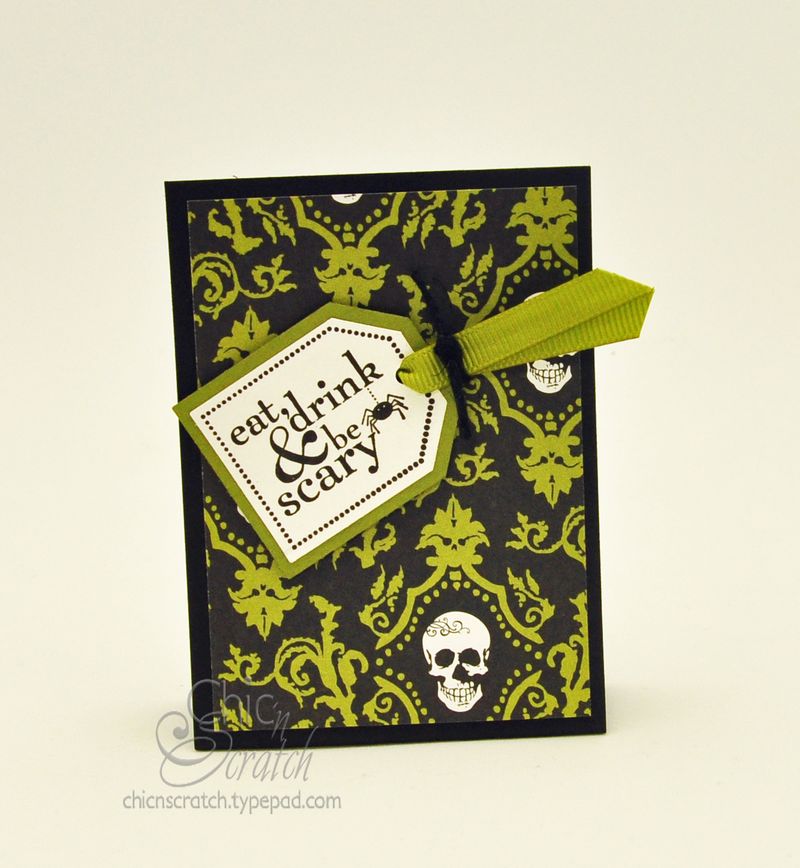
The black cat and the images on the side are from the Halloween Frights stamp set and the witches hat is from the Eat, Drink & Be Scary and the Trick or Treat is in the Tasty Sweet stamp set.

Thanks for stopping by!!

Click here if you'd like to place a Stampin' Up! order.

p.s. Chase & Brooke had lots of fun at Worlds of Fun.  I rode two rides.  The Prowler was just too much for me.  I screamed the whole time…..then I got a headache :)  I loved the Cyclone Sam ride (it reminded me of rides at Universal Studios …..I like indoor rides).

Spooky Treats

Good morning!

The first picture today is a group shot of the Halloween Treats I've been working on.   They are super easy to make and affordable as well.   I used the Halloween Hoot stamp set, the Holiday Best Hostess stamp set & the Eat, Drink & Be Scary stamp set.  You don't need to use all these sets….. I wanted to show you how to use what sets you have. 

Halloween treats group  

Last year I used the Batty for you stamp set on several of my Halloween treats and I'm pretty sure I need to dust that set off and use it too!!

The next two photos are close ups of the two I didn't show yesterday. 

 Halloween hoot treat

Spider Treat

My final picture is a side view of one of them so you can see what it really looks like.  Again you can use any of the treat size Halloween candy.

Halloween treats cast a spell  

Have a great day and thanks for stopping by!!

Click here if you'd like to place a Stampin' Up! order.

p.s. Ladies if you're attending Card Class tonight, don't forget to bring your adhesive.

p.s.s.  Over the weekend I'll be sharing some Convention swap cards, we have another busy family weekend.   I'll resume posting the Halloween items on Monday (if all goes well, the video should be available also).    See ya 🙂


Halloween Treats

Good afternoon!!

Today I'm sharing with you two of the projects that will be included in my Halloween Treats Class.   These little treat holders will hold a bag of M&M's, Reece's Pieces or a Reece's cup (it will hold any of those treat size bags of candy you find at the store during Halloween).

Here's the first one…..I used Cast a Spell Designer Paper with the Eat Drink & Be Scary stamp set. (I'll provide all the measurements when I post the video.)

Halloween treats #1

Do you ever start stamping and you just can't stop?  That's where I'm at…..I've had a blast making these treats and I'm not ready to post the entire class but I know you're going to be as excited as I am.   I have one last item to add to the box and it will be finished (the box will hold all the treats).   A few of you have ask how much I'll charge for my class and I'm not sure until I wrap up all the projects.  What I do is create everything….then I add it up and figure out my cost and what it will cost to ship and then I decide on a price.  

Here's the next picture…..On this one I used the Holiday Best stamp set & it's a Level One Hostess set on page 13 of the Idea Book & Catalog.   If you would like to earn this set and would like to book a workshop, please give me a call or send an email.

Halloween Treats #2

I'll share two more of these tomorrow and then I'll show you the group photo.  I'll save the box to show you on Monday.

Sorry I didn't get a chance to post yesterday!!  I was super busy cutting for tomorrows Card Class and then when Chase & Brooke got home we had to go buy school supplies.

Have a great day!!

Click here if you'd like to place a Stampin' Up! order.

Sweet Centers

Good afternoon!

I couldn't resist showing you this project today. The Sweet Centers stamp set will be available September 1st in the Holiday Mini Catalog and I'm showing you this project early because it's the same box as yesterday….it's the Fancy Favor box and If you watched my video yesterday you got a chance to see it early.

Sweet Centers

I can't take credit for creating this treat……it was one of the items they shared with us at Convention and it will also be one of the projects in my Halloween Treats Class (date will be announced later this week).  

The center was punched out with the 1 3/4 Circle Punch and I added the Window Sheets to the inside.    I've already had some requests for the video so I'll be filming that very soon!

Here's the product list:

  • Fancy Favor Die – 115965
  • Big Shot Die Cut Machine – 113439
  • Window Sheets – 114323
  • Sweet Centers Stamp Set (available Sept 1st) – 116521
  • Pumpkin Pie Ink  – 105216 or Elegant Eggplant Ink – 105210
  • 1 3/4 Circle Punch – 112004
  • 1 3/8 Circle Punch – 104401
  • Horizontal Slot Punch – 105089
  • 1 1/4 Striped Ribbon – Old Olive – 115618 & Pumpkin Pie – 115616

Thanks for stopping by!!

Click here if you'd like to place a Stampin' Up! order.

Forest Friends Fancy Favor Box

Today’s video is on how to make this Fancy Favor Box.  I used the Forest Friends stamp set along the the Teeny Tiny Wishes stamp set.  I colored the tree using the Stampin’ Write Markers & this box is made with the Big Shot.   To make one you’ll a 12 x 5 1/2  sheet of cardstock.  It’s also one of my August Club Projects.

Forest Friends Fancy Favor Box

  • Stamp sets:  Forest Friends & Teeny Tiny Wishes
  • Ink:  Chocolate Chip & Timber Brown Stazon
  • Stampin’ Write Markers:  Old Olive, Pumpkin Pie, Summer Sun & Chocolate Chip
  • Chocolate Chip Cardstock: 12 x 5/12
  • Old Olive Cardstock:  2 1/4 x 2 3/4
  • Very Vanilla Cardstock:  2 1/16 x 2 1/2
  • 1 1/4 Old Olive Striped Ribbon – 8″
  • Linen Thread – 6″
  • Horizontal Slot Punch
  • Stampin’ Dimensionals
  • Big Shot & Fancy Favor Box Die

Click here if you’d like to place a Stampin’ Up! order.

Greetings Gift Card Holder

Today I'm sharing one of my 3D Kit Club Projects for August.  It's a Gift Card Holder and I used the Greetings Earthling Stamp set with the Teeny Tiny Wishes Stamp set.  (This was also my 3D swap for Convention.)

Greetings Gift Card Holder 

Here's a picture of the inside:Greetings Gift Card Holder inside

If you would like to learn how to make one of these gift card holders,  I've posted the video tutorial on my Chic n Scratch Live! website.  Click here to go there now.  You'll also find the supply list & measurements.

Thanks for stopping by and have a great weekend!!

Click here if you'd like to place a Stampin' Up! order.

Greetings Gift Card Holder

Today’s video is on how to make this Gift Card Holder.  I used the Greetings Earthling stamp set & the greeting is from the Teeny Tiny Wishes stamp set.  It’s also one of my August Club Projects.

Greetings Gift Card Holder 

  • Stamp sets:  Greetings Earthling & Teeny Tiny Wishes
  • Wheel:  Whimsy
  • Ink:  Timber Brown Stazon, Chocolate Chip, Close to Cocoa & Old Olive
  • Olive Cardstock:  11 x 4 1/4 & score at 5 1/2 and 3″ on each end
  • Shimmery White Cardstock:  2 x 2 1/2
  • Soft Suede Cardstock:  2 1/4 x 2 3/4
  • Soft Suede Polka Dot Grosgrain Ribbon
  • Use Aqua Painter or Blender Pen to color image with re-inkers
  • Sponge the edges if you’d like with Close to Cocoa Ink

Here’s a picture of the inside…….

Greetings Gift Card Holder inside 

Click here if you’d like to place a Stampin’ Up! order.


Razzleberry Lemonade

Razzleberry set 

Good afternoon!

Isn't this set darling?  Someone ask me a question about the Rectangle Coaster Clipboards and that reminded me that I haven't made one with the new designer papers. 

I used the Circle Circle Stamp set with Melon Mambo, Crushed Curry & Rich Razzleberry. The "S" is from the Just Perfect Alphabet set and I'm thrilled we have a new set to Monogram with.  I'll be using this set a bunch around the Holidays!  Check out the price….it's only $19.95, it's on page 151, item #115358.

 If you'd like to see how to make the Rectangle Coaster Clipboard, click here to head over to my Chic n Scratch Live! website to see the video.  Or if you need Rectangle CoastersI have them available on my Chic n Scratch Shack website.  Click here to go there now.

My next picture is of the first card I made…..and then I decided to add some other colors.

Monogram S 

My next post will be on Monday.   I'll have limited access to my email over the weekend. (That means I'll check it but I'll only be able to respond to the really pressing emails.) 

Thanks & have a great weekend!!

Click here if you'd like to place a Stampin' Up! order.

p.s.  With a Typepad blog we are able to post in advance but I've found that by doing that it looks like I'm home & working.  So, long story short….I'll see ya on Monday 🙂

Stampin’ Up! Envelope Card

Happy Togeher Envelope Card Hi,  today’s video is on how to make this Envelope Card.  I used the Happy Together stamp set with the Tall Tales Designer Paper.

If you’d like to see a larger version I’m posting the details on my regular Chic n Scratch website.  Click here to go there now.

Here’s a picture of the inside.

Side videw envelope card


Stamps:  Happy Together

Ink:  Old Olive

Cardstock:  Old Olive, Whisper White & Tall Tales Designer Paper

Other:  White Medium Envelopes, Sponges, 2  Way glue Pen, Dazzling Diamonds Glitter, Trimmer with Scoring blade.

Measurements:  Whisper White 2 7/8 x 1 1/2, Old Olive 4 3/4 x 7 5/8, Old Olive 3 1/8 x 1 3/4, Barely Banana 3 3/8 x 2, Tall Tales Designer Paper 4 1/2 x 1 1/8

Click here if you’d like to place a Stampin’ Up! order.


Fancy Favor Box

Fancy Favor Box with window 

I was saving today's project to show you later…..after I fixed a couple boo boos.  If you look real close you can see the fishing line holding the Sparkly & Bright reindeer is not straight, the greeting is a tad too big and I wanted to add Rebar Tie Wire and make some cute handles (that means you'll see this project again).

I'll warn you……I'm in love with this Fancy Favor box and you might get tired of seeing me use it.  It's the perfect size to hold so many goodies.  It measures 3 1/8 x 3 1/2 and it's 2 1/8 inches wide.  It's the same box I showed you two days ago (scroll down to see it).   

Have a great day & thanks for stopping by!

p.s.  I've been super busy as a mom & wife. I'm not embarrassed to say I'm struggling with balance.  I'm sure many of you can relate….. it's just a typical summer with 2 kids, 2 dogs, hubby, house, cooking, cleaning, business…the list goes on.   Once school starts back, I'll gain more control & be more productive!! (I could write a book about all this but I won't keep you).  See ya!

Item added to cart.
0 items - $0.00